Are you considering upgrading the look and feel of your home with new tiling?
Tiling your house can transform its appearance, adding style, durability, and value to your living space.
However, the process of tiling can seem daunting to many homeowners.
Fear not!

In this comprehensive guide, we’ll walk you through the easy and best way to tile your house, ensuring a successful and satisfying DIY project.
Table of Contents
1. Planning and Preparation:
Before diving into tiling, it’s crucial to plan and prepare adequately.
Start by measuring the area you intend to tile accurately. This will help you determine the quantity of tiles and materials required for the project. Additionally, ensure that the surface you’ll be tiling is clean, dry, and level. Remove any existing flooring or debris and repair any cracks or imperfections to create a smooth and even base for the tiles.
2. Choosing the Right Tiles:
Selecting the right tiles is essential for achieving the desired look and functionality of your space. Consider factors such as the size, color, material, and texture of the tiles to complement your interior design style. Ceramic and porcelain tiles are popular choices for their durability, water resistance, and versatility. However, you can also opt for natural stone, glass, or mosaic tiles for a unique and luxurious touch.
3. Gather Your Tools and Materials:
Ensure you have all the necessary tools and materials before starting the tiling process.
This includes tile adhesive, grout, spacers, a trowel, a tile cutter, a level, a tape measure, and safety gear such as gloves and goggles. Having everything on hand will streamline the tiling process and prevent unnecessary delays.
4. Tile Layout and Installation:
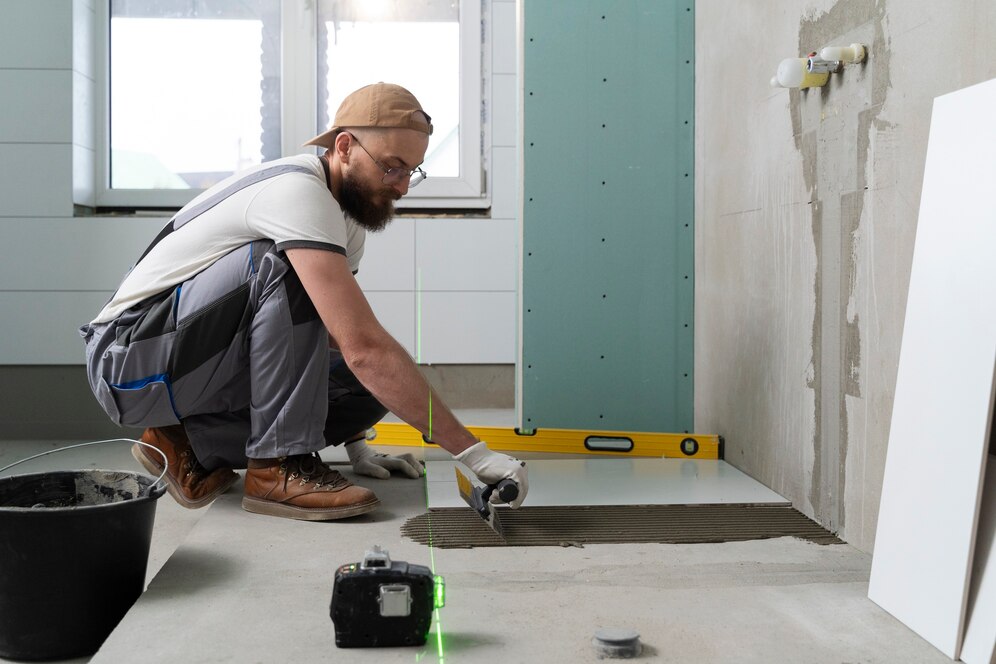
Begin by dry-fitting the tiles to determine the layout and pattern that best suits your space. Use tile spacers to maintain consistent spacing between tiles for a professional finish. When applying adhesive, work in small sections to prevent it from drying out too quickly. Use a notched trowel to spread the adhesive evenly on the surface, ensuring full coverage.
Carefully press each tile into place, applying gentle pressure to ensure proper adhesion and alignment.
5. Grouting and Finishing Touches:
Once the tiles are set and the adhesive has cured, it’s time to grout the joints between the tiles.
Mix the grout according to the manufacturer’s instructions and apply it generously using a grout float, pressing it into the joints at a 45-degree angle. Wipe away any excess grout with a damp sponge, taking care not to disturb the grout lines. Allow the grout to dry completely before applying a grout sealer to protect it from stains and moisture.
6. Clean Up and Maintenance:
After completing the tiling process, clean up any leftover adhesive or grout residue with a damp cloth or sponge. Allow the tiles to cure for the recommended time before walking on or placing heavy objects on them.
Regular maintenance, such as sweeping and mopping, will help keep your tiled floors looking fresh and beautiful for years to come.
In conclusion, tiling your house doesn’t have to be a daunting task. With proper planning, preparation, and execution, you can achieve stunning results that enhance the beauty and functionality of your home. By following these easy and best practices for tiling, you’ll be well on your way to transforming your space into a stylish and inviting oasis.
Happy tiling!
Find quality flooring and tiling leads effortlessly with Lead Harvestor. Connect with potential customers seeking professional services. Streamline your business growth with targeted leads. Get started today!
